overhauling the fuel pump
disassembly
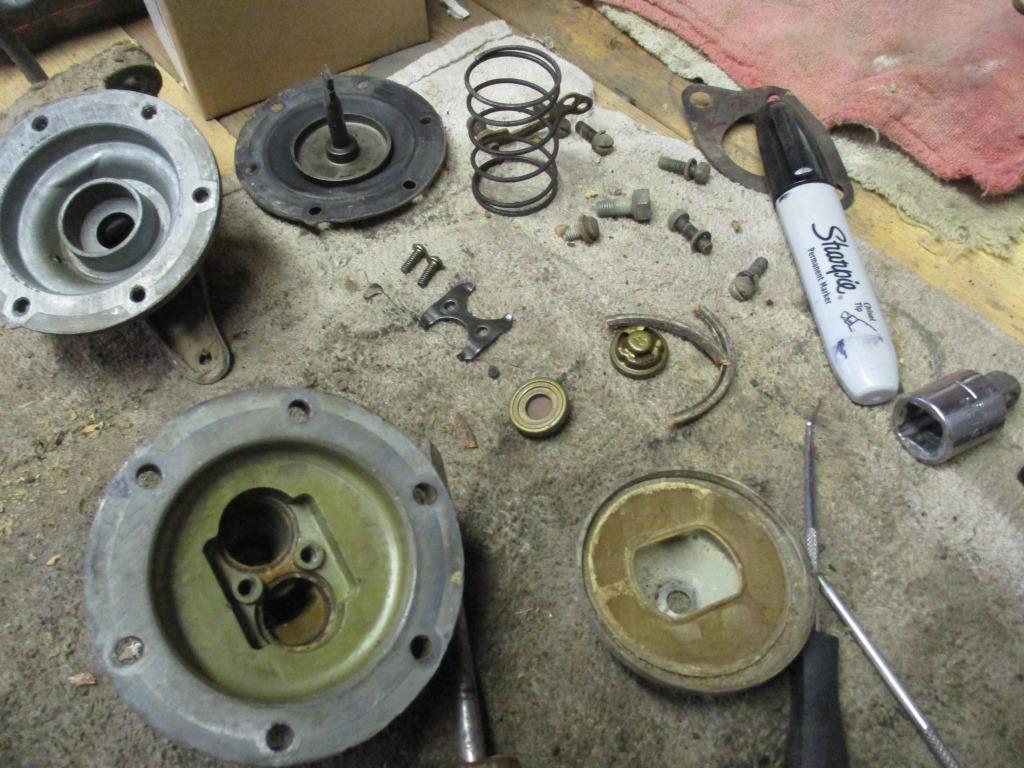
I must admit, I have never overhauled a fuel pump; on all my daily drivers over the years, I have simply replaced them with new or rebuilt units. But auto parts stores don't have an abundance of new or rebuilt fuel pumps for 1948 Austins, so I rebuilt my own. By this phase of the restoration I had learned to take lots of pictures not only to share, but to use as a reference tool. I was surprised that there was not many components inside.
|
a tisket a tasket, a new bunch of gaskets
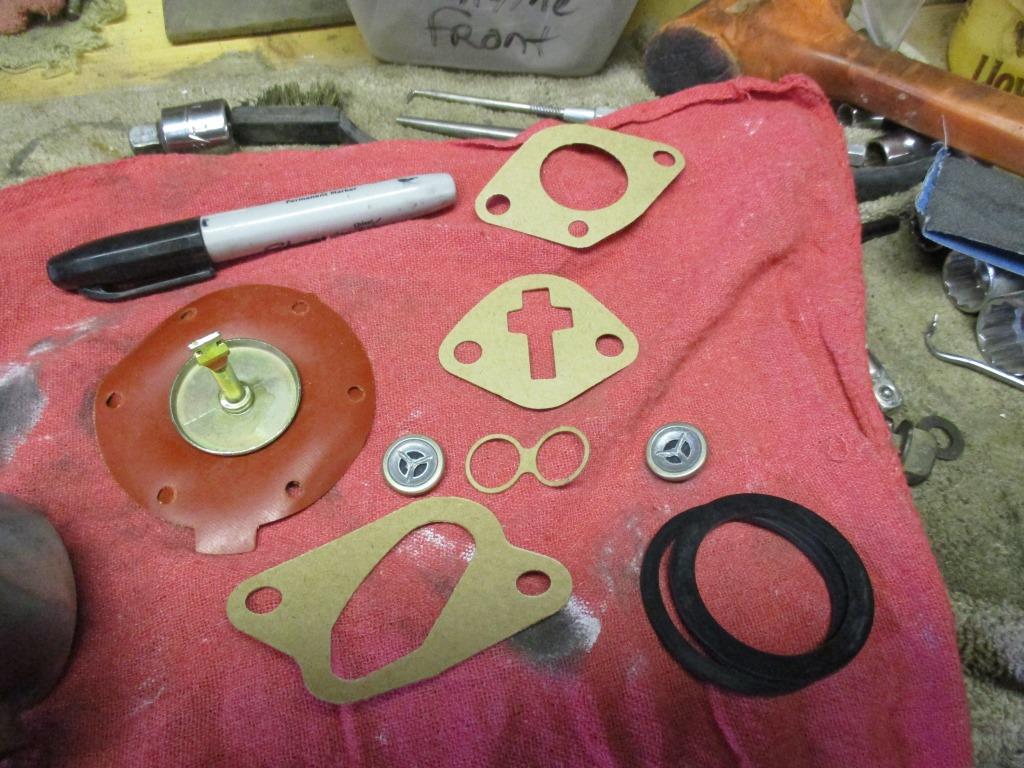
I got this rebuild kit from ACCC. Earlpart has them also and I am sure there are companies, especially overseas that carry them also. This kit came some extra mounting gaskets for different applications. The one at the top fits my engine.
|
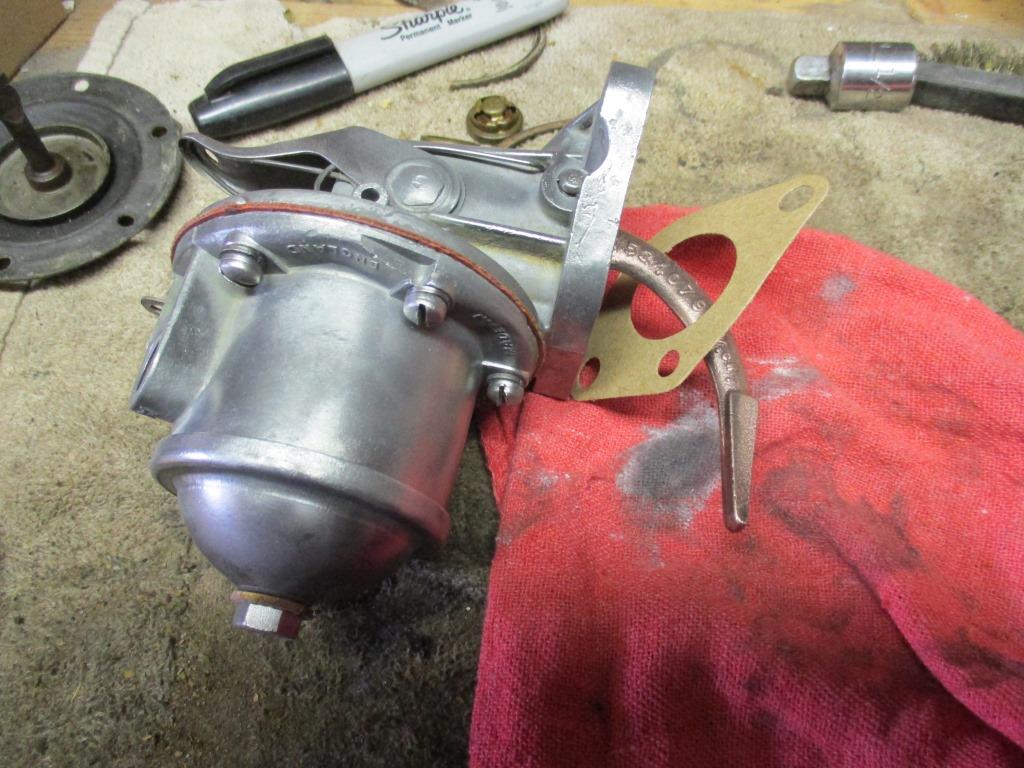
All shined up and ready to go
Cleanliness really is next to Godliness - it keeps you from using the Lord's name in vain when that freshly rebuilt component doesn't work. I used my Chem-Dip solution to soak the aluminum housing, spring, bolts, etc over night. I also used the wire brush on my bench grinder to polish up the outside and some small hand held wire brushes to get what the Chem-Dip missed inside. The rebuild kit comes with new intake and outlet valves - make sure to install them in their correct position!! - and all new gaskets. The small gasket that looks like a pair of glasses in the last photo goes underneath the valves, Make sure to get all of the old gasket out first. Also pay attention to the position of the diaphragm and spring. I had to disregard the instructions that came with the kit which said to align the small tab on the diaphragm with a small protruberance on the pump housing; but the diaphragm must also lock into the pump arm underneath. Every time I tried to line up the two pints, the diaphragm became detached from the pump arm. I compared the new diaphragm to the old, and noticed that the shaft was clocked differently so I made sure the shaft was locked into the pump arm and paid no attention to the position of the tab. Also the spring goes on TOP of the diaphragm, not underneath, as I discovered, after having to disassemble the pump and make the correction.
|
