take me for a spin
spin city
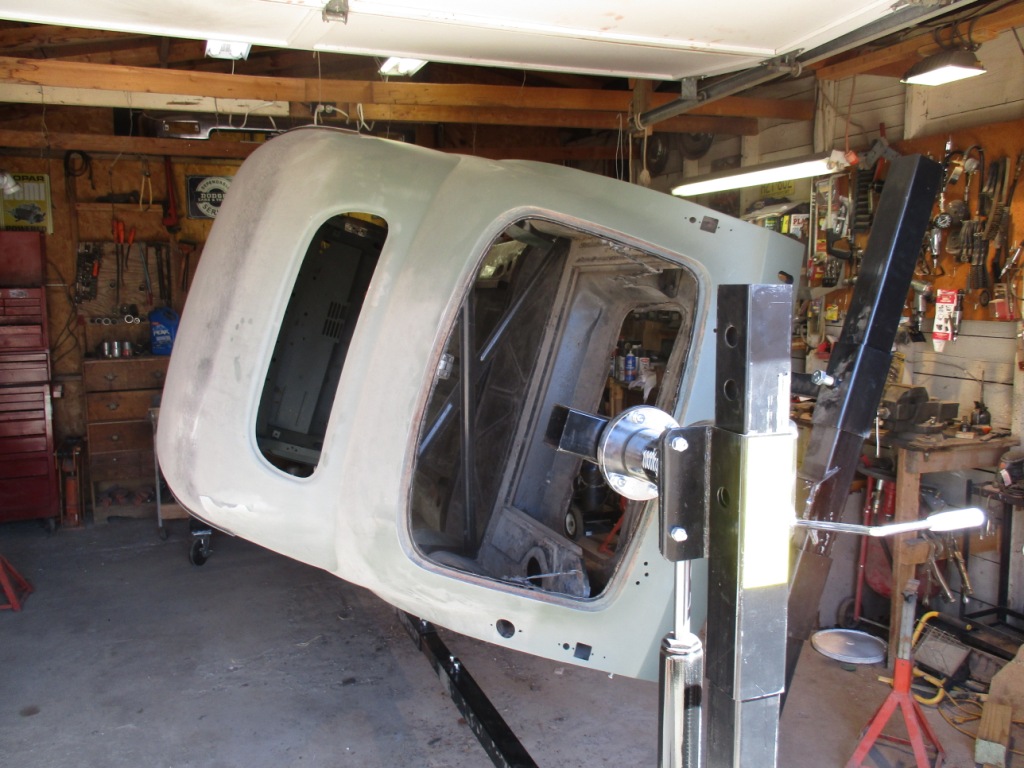
My financial advisor, aka my wife, allowed to me to splurge on this auto rotisserie so that I could finish up the body work and clean up the underside. I think she wants to take ownership of the car once it's complete!
|

mounting hardware
My rotisserie came with some mounting hardware. I modified two of them to match the other two that came with it. I will use these to attach to the body mounts under the car.
|
"mount up"
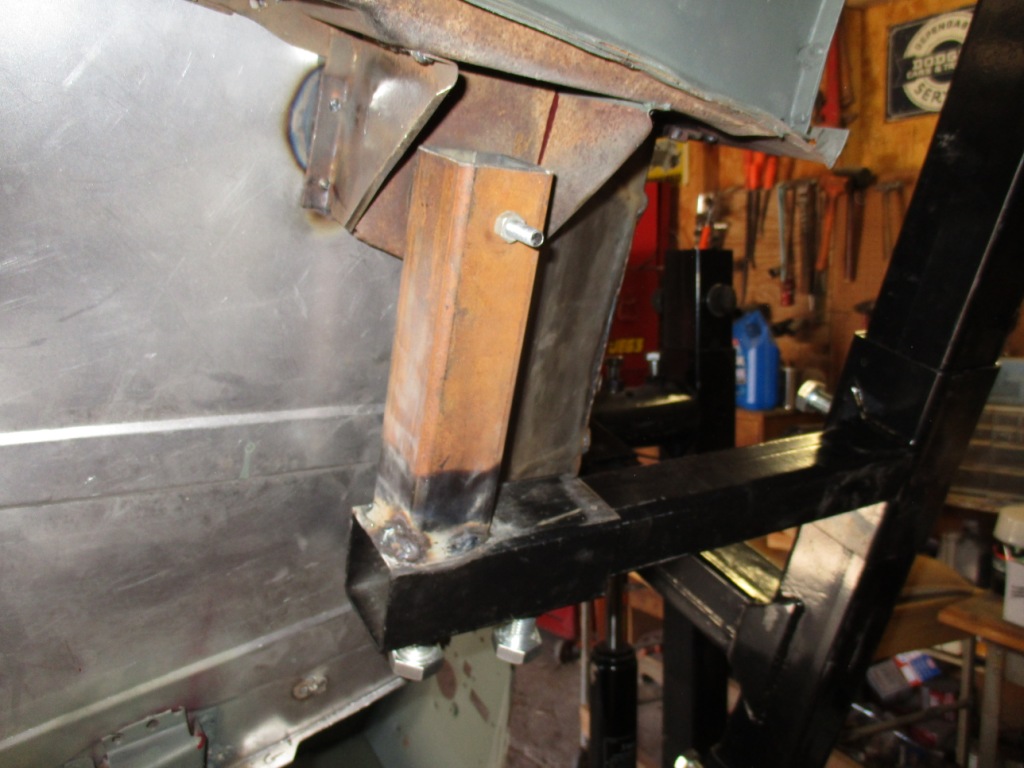
Here they are mounted to the front body mount. On the rear I had to make 6 inch extensions out of pipe in order to reach the rear body mounts and clear the rear tail pan.
|
the ugly underworld
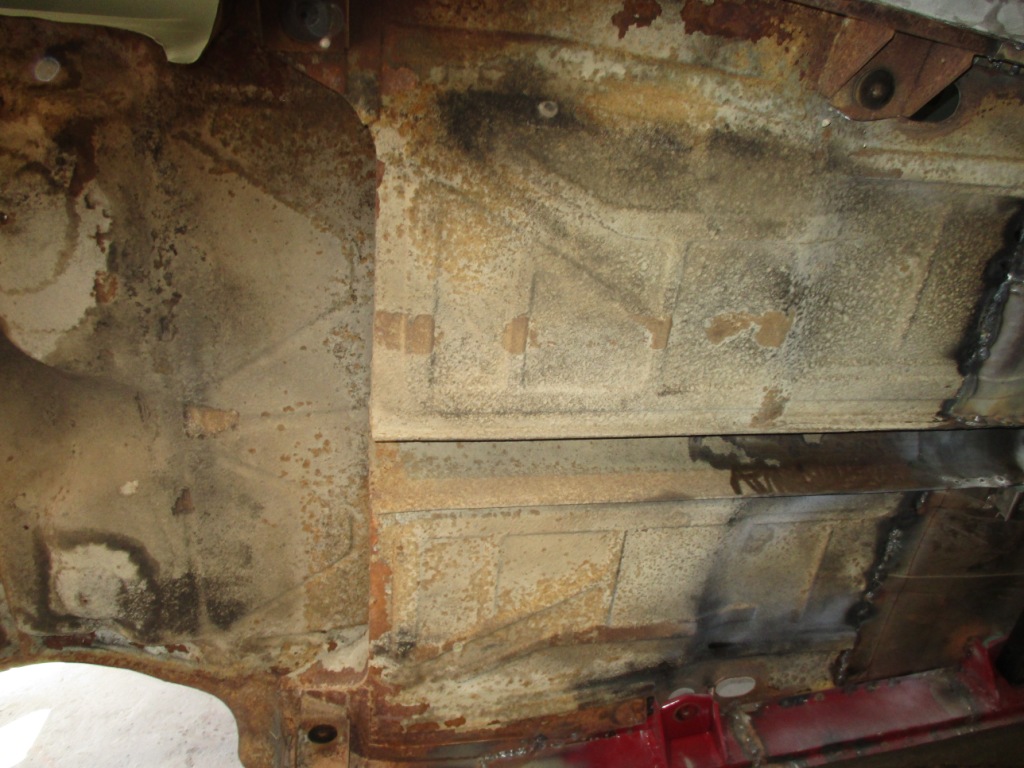
This is the view most people never see - the underside of their car. Some type of rust-proofing had been applied at some point in this car's life. Unfortunately it didn't do much good (or perhaps it did) as you'll see in the next photo. All of this has been scraped off and wire-brushed clean. I will paint it to match the rest of the body, just as the factory did. At the bottom of the photo you can see the left side inner rocker panel that I had to rebuild.
|

After removing the "rust proofing" and cleaning up with a wire wheel, my ice pick revealed quite a few pinholes in the floor pan. Yes, that is daylight shining through! Since replacement panels are not readily available and because of the many complicated contours and curves, I am not going to cut all this out, rather I will weld in filler panels to cover these areas, then fill the holes from underneath with my fiberglass reinforced body filler. This will give a smooth "untouched" look to the underside, and these areas will be hidden under the back seat once the car is reassembled. If you look at the front of the seat pan you can see the burgundy color that is original to the car. I found this same color in other hidden areas. It was one of the four colors offered, so this is what I'll return it to.
|
