back in one piece again
fill 'n' go
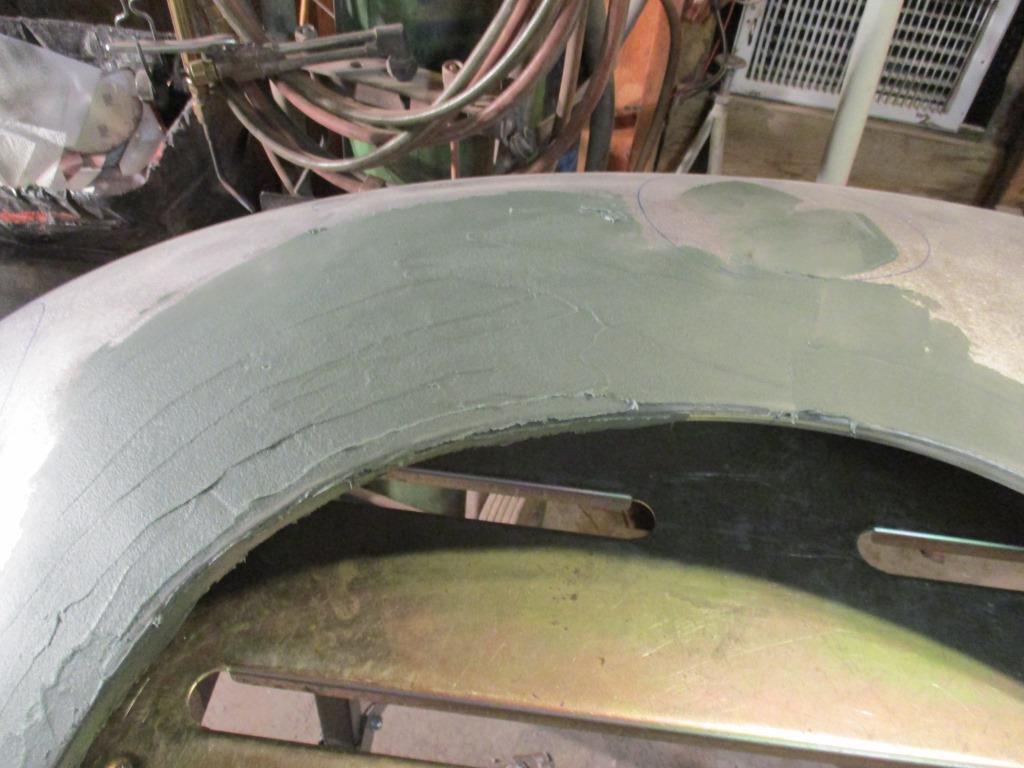
Once all the welds were ground down, a hefty coat of fiberglass filler was applied. Once again, I did a couple hours of hammer and dolly work to remove any low spots before applying filler. Although it looks pretty heavy here, (and it is) about 90% of this will end up on the floor after sanding. Fiberglass filler is pretty stout, so i use mainly powered sanders and 80 to 100 grit paper. The idea is to get the basic shape, the sanding scratches will be filled with plastic filler and spot putty later on.
|
Step two and three - plastic filler and spot putty
After getting the final shape with the fiberglass filler, several, and I do mean several, coats of plastic filler were applied and sanded. I used several hand sanding techniques here, including a long, narrow foam rubber sanding board that I got from Eastwood. It forms nicely to the contours of the fender and give a nice even and smooth finish. I use 80 or 100 grit on the first heavy coats, then work my way down to 220 for final finishing. I like the plastic filler coat to be even thinner than the fiberglass filler. I have a saying, "when you can see through (the filler) you are almost done." I mean that literally; this coat should be just enough to fill the smallest imperfections. I also constantly rub my hand and fingers over the sanded area feeling for high and low spots, deep scratches, pits, etc. Even with 220 grit paper, you may feel or see some scratches in the surface of the filler and metal itself. This is remedied with coats of spot putty. This material is extremely soft and bout 98% of it will end up on the floor, but it is a crucial step as these defects will show up in the final paint if not remedied here. I use 320 grit for sanding the spot putty. I covered about 80% of this fender with spot putty, you can see what little is left after sanding.
|

two weekends and how many hours later?
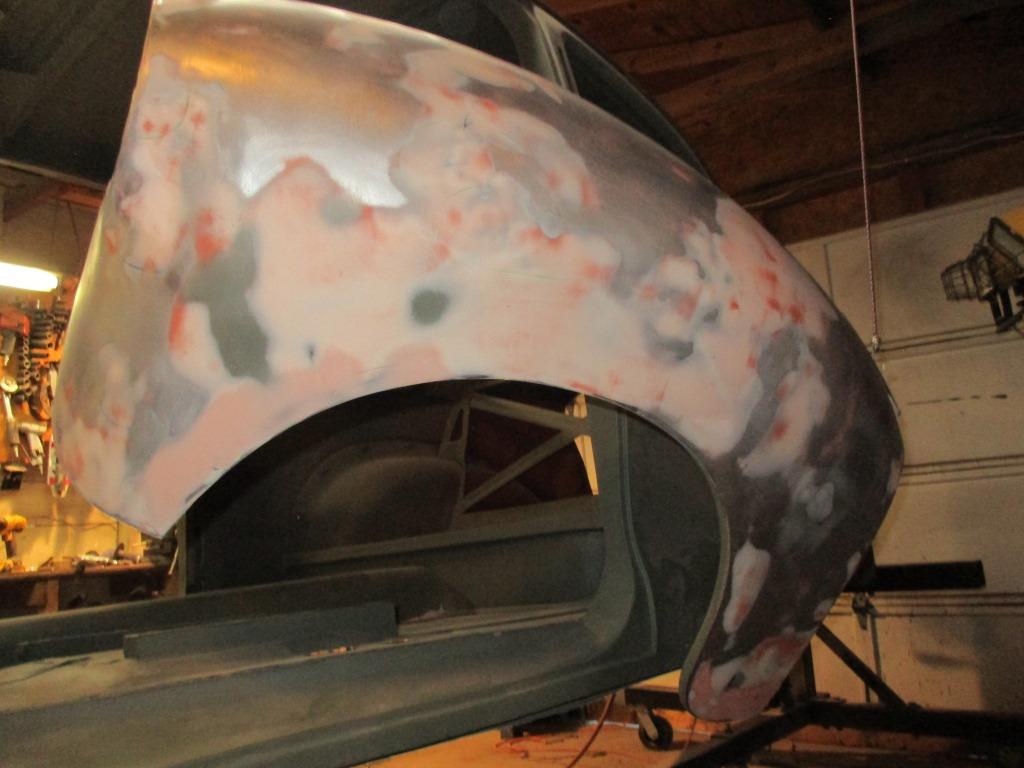
I think it was two weekend, maybe it was three, plus several hours in the evenings after work, but FINALLY the fender was in primer. This is only the outer half of the left front fender (wing). The inner fender on this side had some minor body damage, which was easily repaired. The other fenders each showed minor damage also, mostly door dings and one crease dent on the right rear, which were also quickly addressed with some hammer work and filler. I have been using a self-etching primer on all my repairs, since I have been striping everything to bare metal, and also for the fact that the repairs will sit for quite a while before they get painted. I can't whip out the body work in two weeks like all these miracle custom car shops on TV, even if I didn't have to work for a living. Once all the body work is complete, I will re-sand each part with 400 or 500 grit, then add a second primer/filler/sealer before I paint.
|
