wheel opening flange
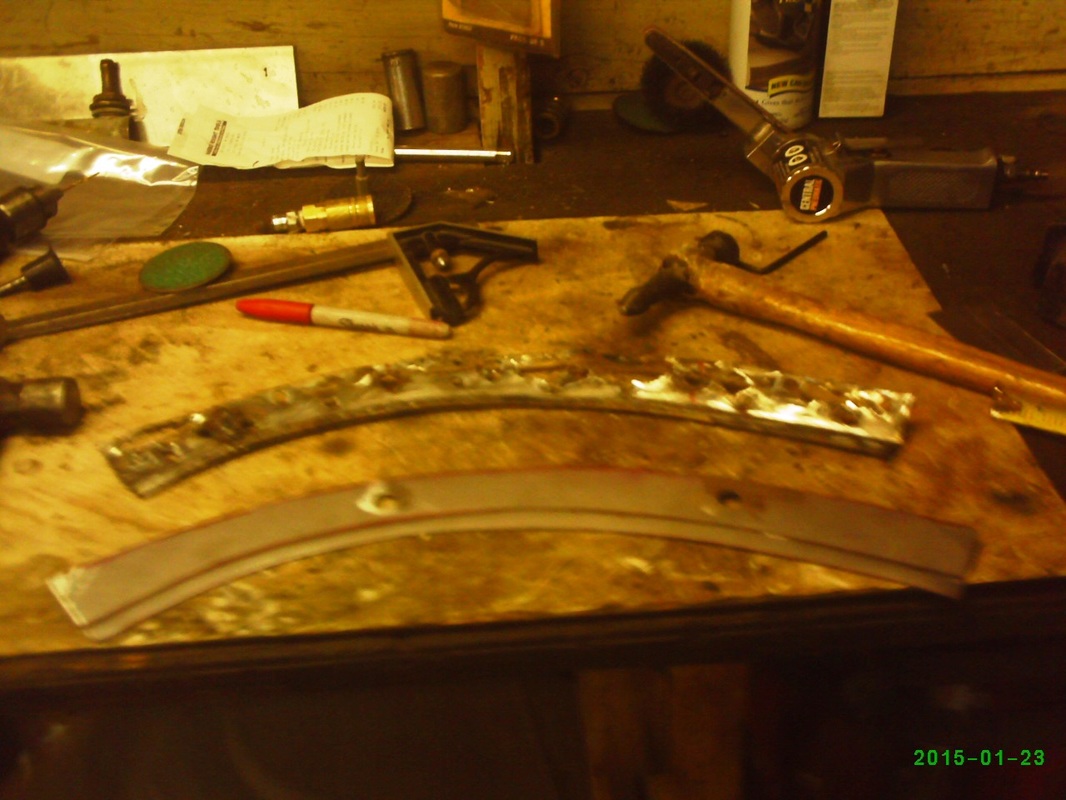
a new flange
I made this piece and formed the lip using my bead roller, which is fast becoming my favorite tool in the garage. I had my wife help me by turning the bead roller crank VERY SLOWLY while I guided the piece through so as to maintain a 1/4" lip along the curve.
|
Fitting in the new
Here it is welded in. A little grinding and some filler and we're good to go. I used a fiberglass resin body filler on all my repairs for shaping and to add strength and resist cracking, then used regular plastic body filler to get it ready for final sanding.
|
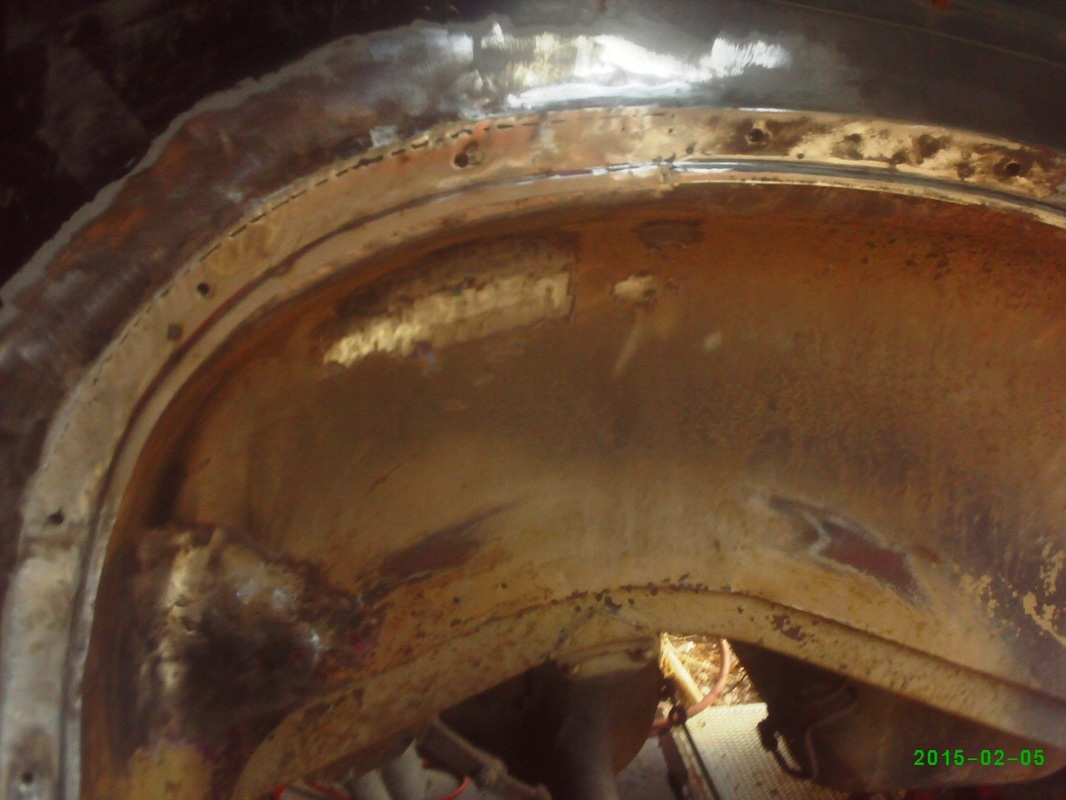
patching panels
This started out as a quarter-sized hole. After cutting out this area, it was apparent that the rot had extended into the trunk floor and braces located behind this panel.
|
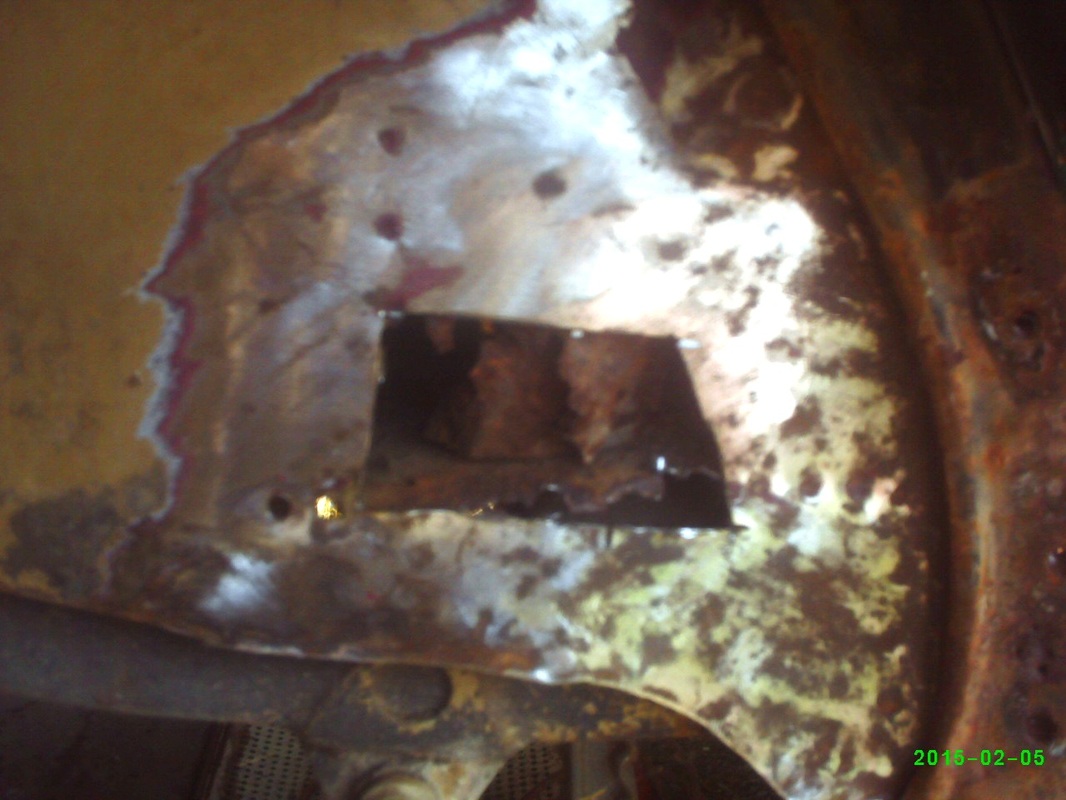
fitting the new pieces
Here's a shot from inside the trunk, showing some of the pieces I had to fabricate.
|
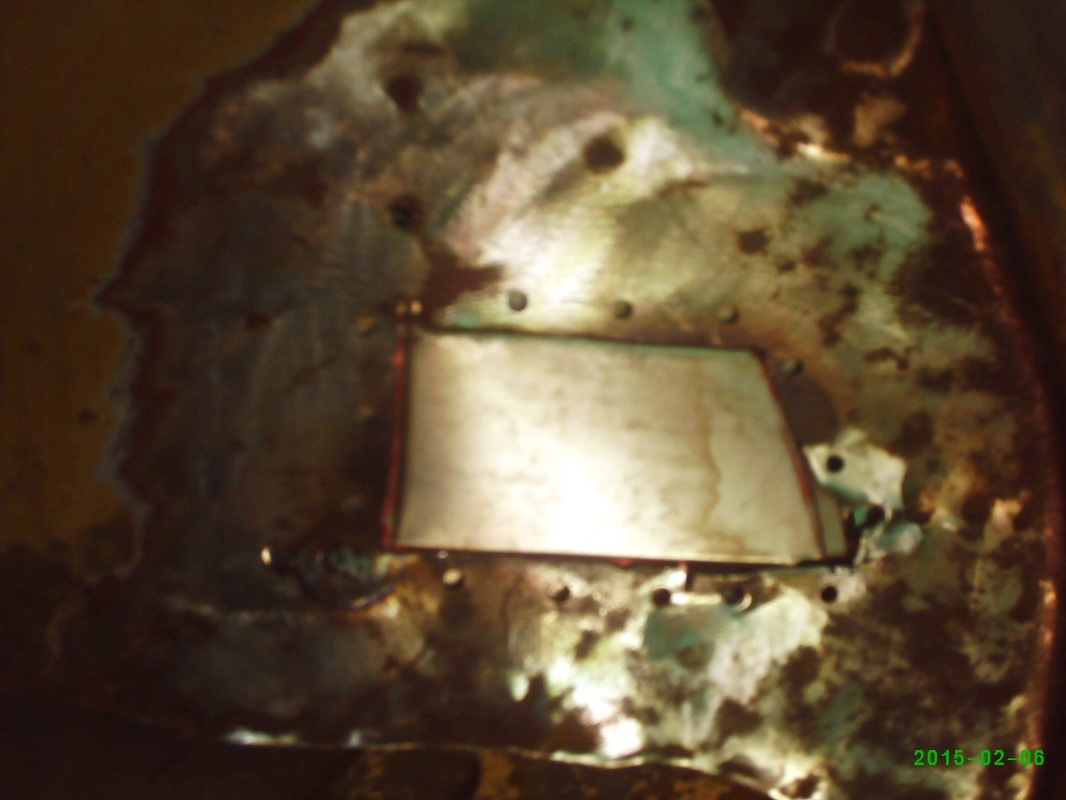
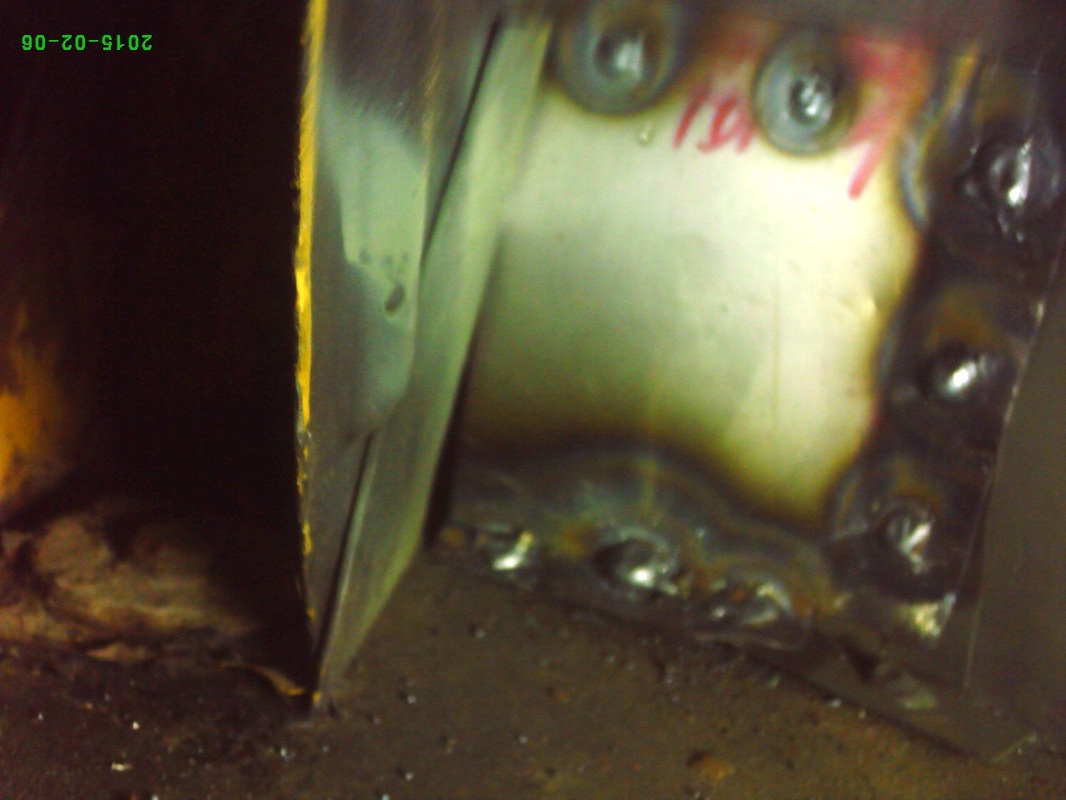
After I finished with the inside, I made this piece to fill the hole. To make it a flush fit, I formed a 1/4" wide by 1/16" deep flange along the perimeter The holes I drilled to use as "spot welds" as I could not access the piece from the inside. By creating the flange, the face of the repair panel sits flush with the old panel, requiring less filler when you're done.
|
