starting from scratch
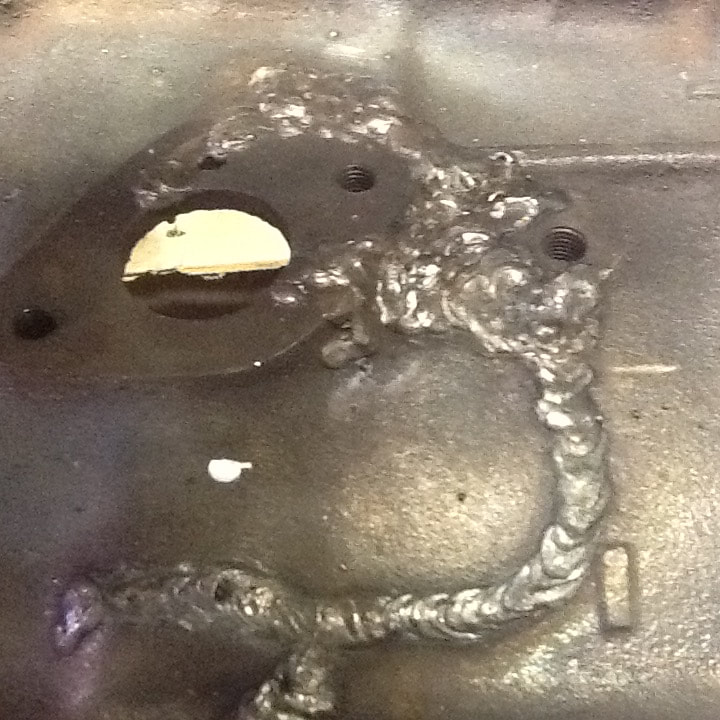
welding the block
This car had a rough early life. Presumably before my grandfather acquired the car in the early 1950s, the engine had been changed and that engine subsequently suffered catastrophic failure. The engine ID tag does not match the vehicle ID tag engine number; it is a replacement dated around 1950. This huge crack in the bottom half of the block indicates that this second engine suffered from a broken connecting rod. We (that is my mother and I) think this must have happened prior to it coming into our family as she does not recall ever having any mechanical problems while in the family's possession. She drove the car to school during 1956. The damaged area had been welded and indeed held up for nearly 70 years, but the work was imperfect and had gaps and holes, so I had it re-welded to make sure there would be no oil leaks.
|
Boring and Sleeving
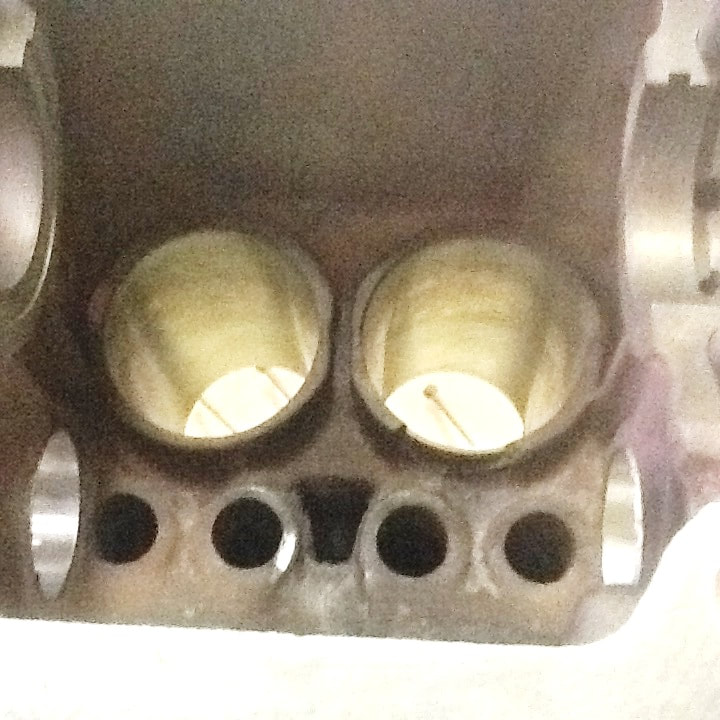
Here you can see the damage caused by the exploding rod to cylinder number four on the right hand side of the photo. This is after the new sleeves were installed.
This car sat for many years in Minnesota before my grandmother finally brought the car to New Mexico around 2000 or so. My cousin (son to my uncle who restored the car in the 1980s) had dreams of restoring it for a second time, but only got so far as to pull the head, which he reinstalled without using a new gasket which caused the cylinders to fill with water. Then the car sat for another five or six years before I got it. Needless to say, the pistons and cylinders were shot, so I order .040 over pistons and planned to have the block bored to match. When I took the block to the machine shop however, we discovered the block had already been bored .040 in over. Since these were the largest pistons available, my only option was to secure a new block or have this one sleeved. I was able to get a set of proper sized sleeves from Melling, but also ran into a problem with the machine work - none of the shops I visited had small enough boring bars; the cylinders on this engine are just over 2.5 inches in diameter. I finally found a shop in Albuquerque, 140 miles away that was able to bore the block, cut the sleeves to length and install them. I had them replace the camshaft bearings for me too. I had already ordered all the parts to rebuild this engine from Earlpart in the U.K. and they were happy to install the cam bearings for me using my parts. Thanks Knighton automotive!! |
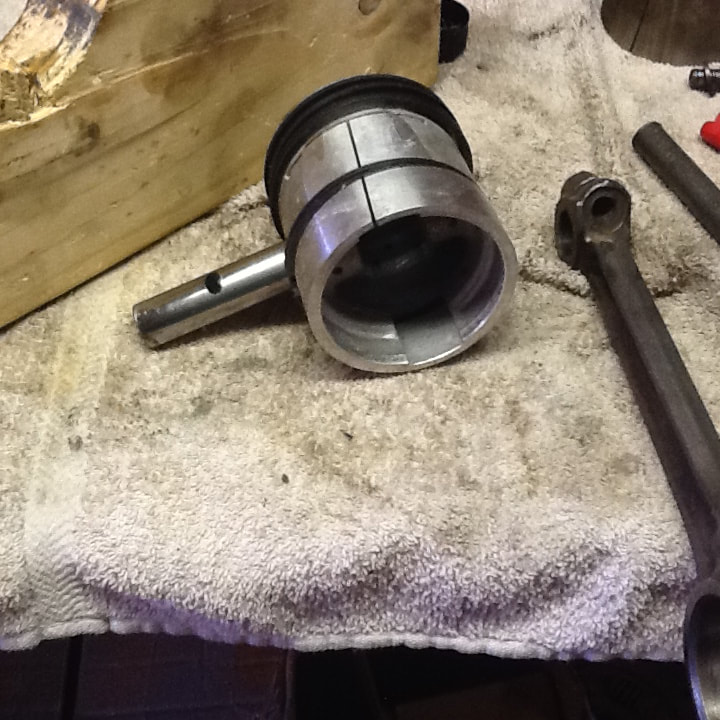
New pistons
I worked on the engine in between body work, while waiting for filler to dry, etc. It had also been three years since I first tore the engine down so it took some memory prodding and looking in the repair manual to remember how everything went back together. These are the .040 over pistons I had ordered from Earlpart. Since I already had them, I instructed the machine shop to bore the new sleeves to fit these pistons. The wrist pins - or gudgeon pins, to use British terminology - are pressed in and the connecting rod also has a pinch bolt on the small end to secure it to the gudgeon pin. As I said, I worked on the engine sporadically in between dong body work. Not a good idea it turns out, as I would lose my focus. I ended up installing two of the connecting rods backwards, and did not discover my mistake until I had the pistons installed into the block. While I was able to install the end caps, I couldn't rotate the crankshaft because the rod caps would hit the inside of the block. Then, while trying to change them, I managed to strip the threads on the pinch bolts. This necessitated getting some used connecting rods and bolts from the spares (used parts) barn from the Austin Counties Car Club in the U.K. Luckily, I had recently joined the club, as parts are available only to members.
|
