final sanding and primer
spraying primer
After what seemed a lifetime, I finally got the underside ready for primer. It took countless hours of sanding and cleaning using 80 grit paper on a pneumatic orbital sander, followed by 180 grit then 320 grit. I used a variety of wire brushes on my pneumatic die grinder and electric drill to get into the corners and grooves, along with a new 2-inch orbital sander that I purchased. It really works great getting into tight spots I find myself using it all the time
|
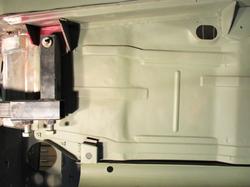
The Front Half
This is the front half where I had to graft in new floor pans. It isn't perfect, and you can see some flaws in the body work. This was one of the first things I did on this body and my lack of experience shows. I wish it had come out a little better, but I am not going to cut it all out and start over!!
At least you cannot see the seam where the new panel meets the old. |
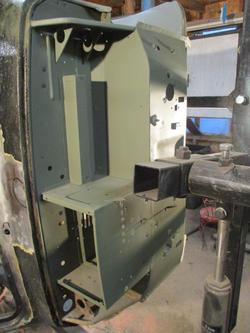
firewall stripped and primered
So far, the firewall is the only part of the body that did not have rust through, well except for one small corner where it meets the floor pan, but that was a simple fix. The large flat area near the top of the photo holds the battery tray. It was pitted and required a layer of fiberglass reinforced filler, but surprisingly there were no holes. I used stripper to remove the old paint.
|
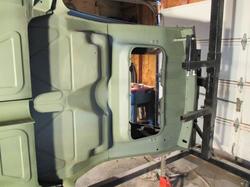
Finally, some light at the end of the tunnel
It's finally starting to look like a complete body again; no filler, welds, or grinding marks, just nice smooth primer. At this point, I have started working on removing the paint from the interior to get it ready for primer. I also had to repair some dents on the driver side of the roof and cover up some grinding marks from previous body work (not mine).
|
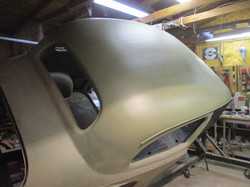
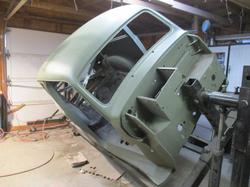
Spraying a large area like this with a rattle can can make your wrist and hands sore, but this is just the base coat. Once I am satisfied with all the body work, I will re-sand the entire body with 320 grit, then re-spray with a high-build primer from my air sprayer. I will follow up by sanding that with 500 grit before applying paint. But first, there a couple other issues I have to address...
|
