fixing some oops!

a closer look
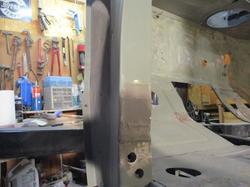
After getting the underside, firewall, and roof in primer, I started going back over some of the first areas I had worked on. I had notices some flaws, so I decided to go back and re-address them. Sufficient lighting is essential when doing body work. It helps to have a bright light shining on the areas you are working on and even carrying one with you as you walk around the car. If found part of the seam and some rough filler showing through the primer on the left sill.
|
it's in the details
This may seem a bit nit-picky, but I also saw some grinding and sanding marks on the area around the door hinge that had replaced. It is just one of those areas that I knew if I didn't fix it, it would bother me forever. And, it only took a few minutes to address and repair with some fiberglass filler.
|
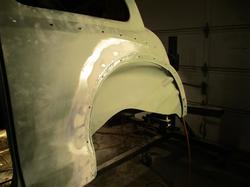
left rear wheel well
This was an area that has been bugging me for quite a while. I made and replaced the lower front half of the lip on this wheel opening, but failed to finish up the body work properly. There were several high an low spots that were readily visible along the edge of the piece I had welded in, presumably some metal warpage from the heat of welding. I went back over this area about five times until I got it nice and smooth. I gently worked down the high areas with a pointed body hammer, and re-applied more filler to fill in the low spots.
|
ahh, that's better

I spent several hours over the weekend going over and back over this area, but the end result is 150% better than it was. The hardest part to get right was the where the body transitions from a flat surface to the curved surface below the rear window, just left of 12 o'clock.
|
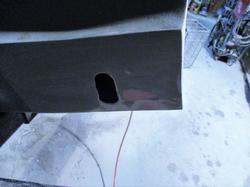
I spent hours and hours over many days sanding the tail panel last summer, and thought I had it perfect, but lo and behold, I found an oops! here too. A little sanding and a little more filler solved the problem.
|
