life is the pits
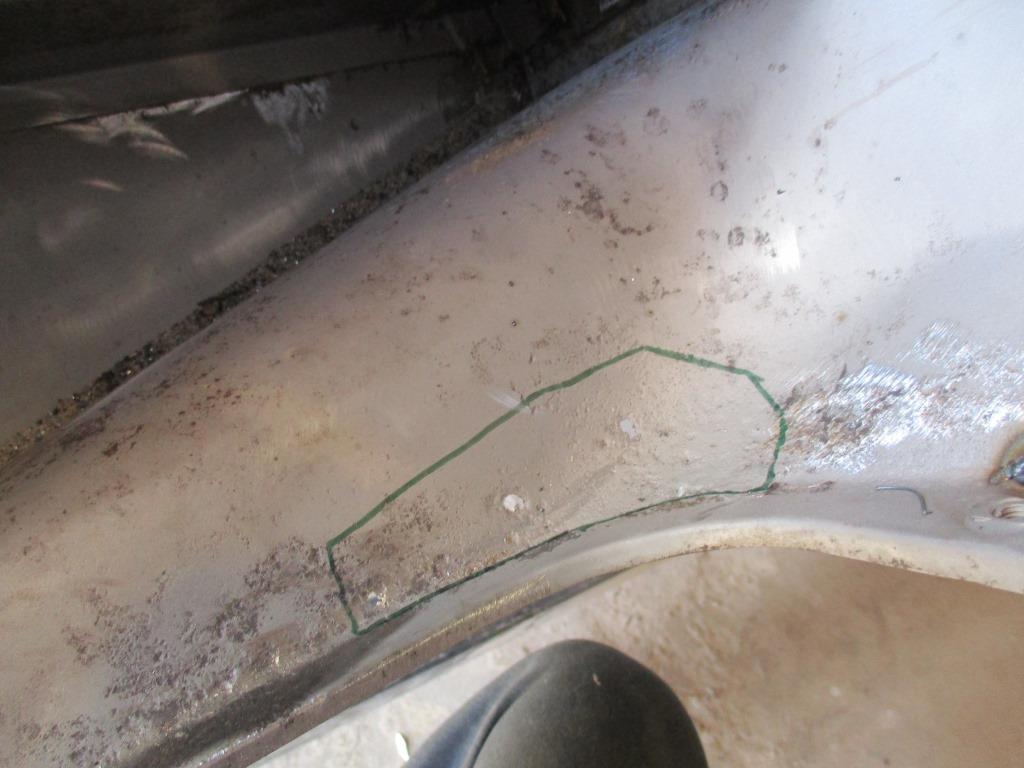
holy boot floor, batman!
Sorry, Batman is playing on the TV in the background - after sandblasting, a few areas of rust-through were revealed. This was the worst area, on the front left corner of the opening in the floor that houses the gas tank. I made a patch piece to match the outlined area. Rather than cut out the old metal here, I simply welded the new piece on top, ground down the edges, and added a coat of fiberglass filler to cover it all up.
|
Filling the pits
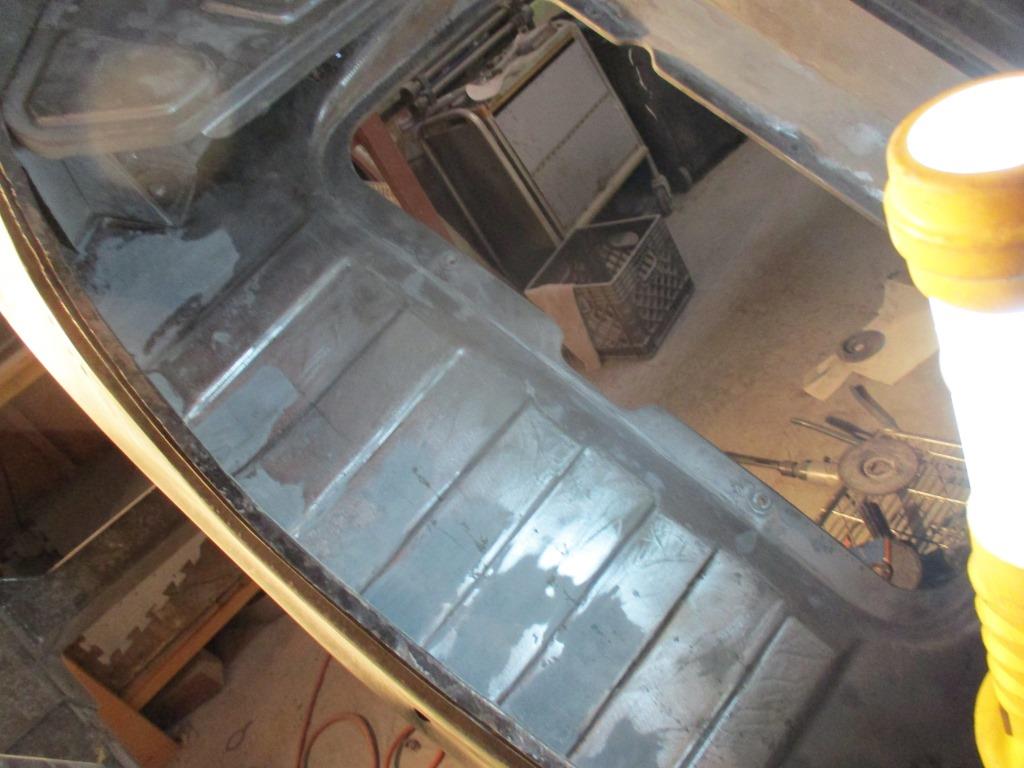
For as hard as it was to do, I took very few photos during the repair process. Suffice it to say I used every type of sanding tool I had; I even made a few out of pieces of paneling, paint sticks, and dowel rod to sand in and around the corners, grooves, and flanges. In many areas, I had to result to using my finger(s) as shapers, and even using postage-sized pieces of sandpaper for reaching into some corners. Here you can see just a sample of the many contours that had to be dealt with - trying to fill all the pits while retaining the original shapes and lines.
|
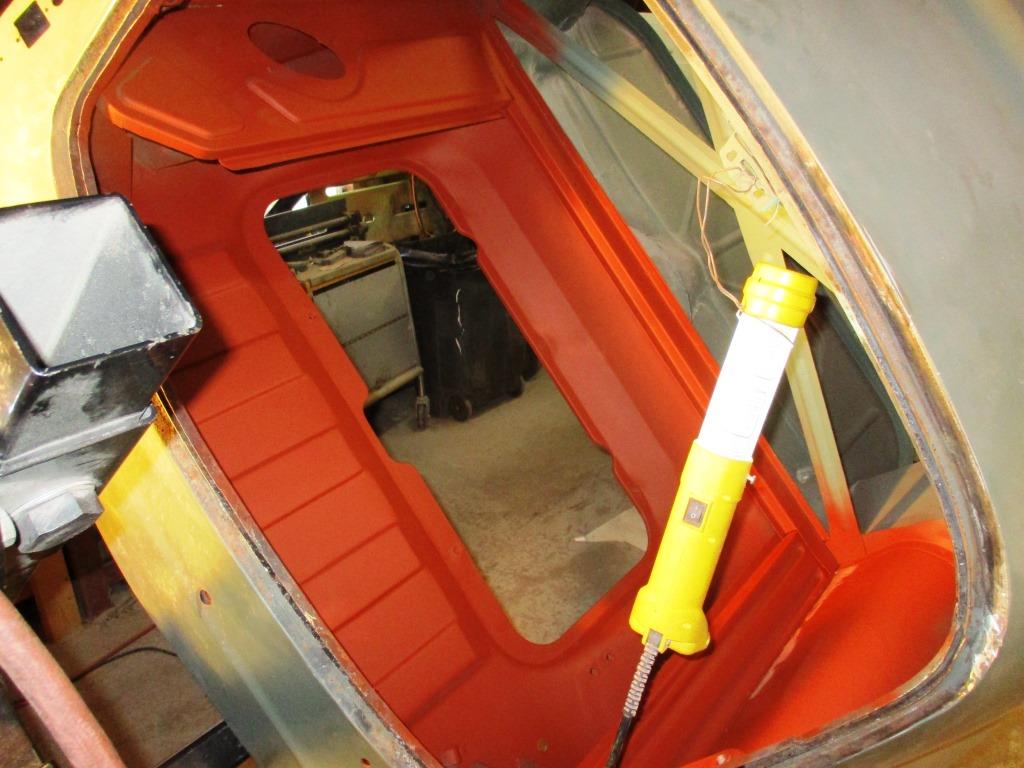
not so short or sweet
I don't recall (or want to) how many hours I spent sanding all the areas inside the trunk, the top and bottom of the package tray, and the areas underneath. I even considered cutting out and removing the package tray and working on it outside the car, but decided that would cause more work than it would save. Finally satisfied with the results, I sprayed everything in etching primer, then applied a liberal coat of red oxide high-build primer to help fill any left over pits or scratches. I did find a few small spots that I had missed, which I addressed with spot coats of filler and/or spot putty, then primed again.
|
